openGauss
开源数据库
openGauss社区官网
开源社区
CentOS虚拟机下openGauss的配置使用
实验环境说明
虚拟机平台 VMware
服务器端 CentOS 7.9
本机系统 Windows 10
部署版本 openGauss 1.1.0
安装详细步骤
虚拟机VMware
本机已配置,该部分省略
CentOS 7.9 安装
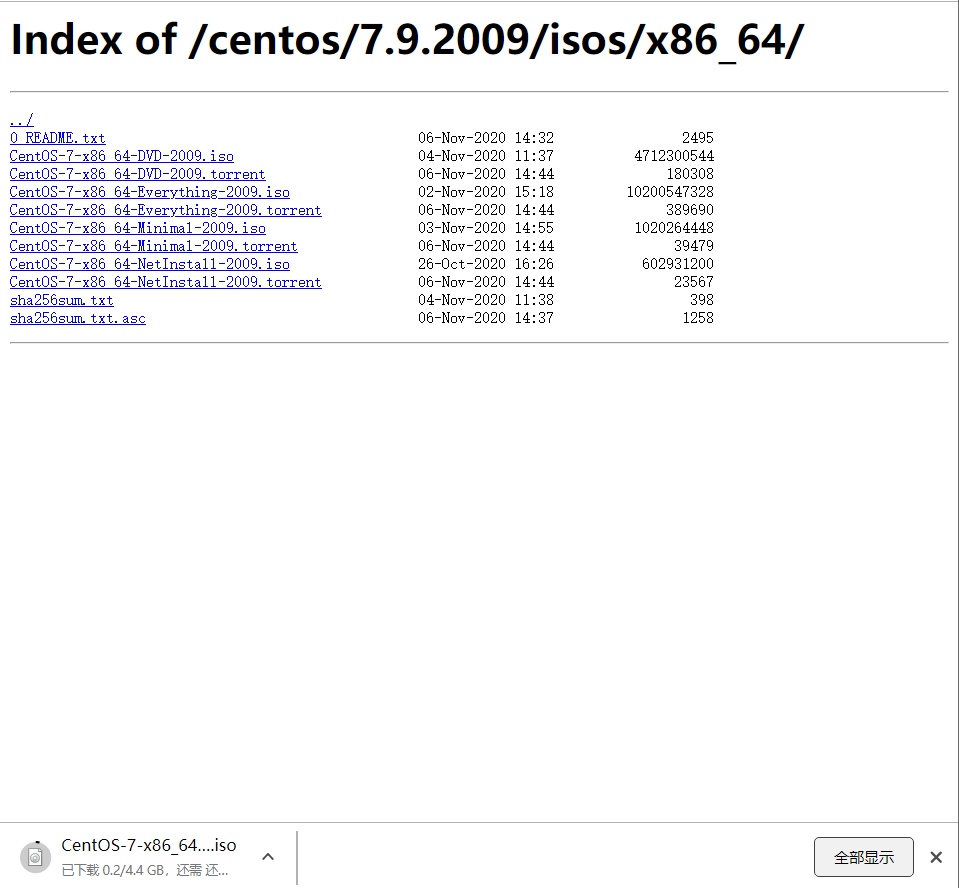
下载镜像源CentOS-7-x86_64-DVD-2009.iso
虚拟机中选中镜像进行安装

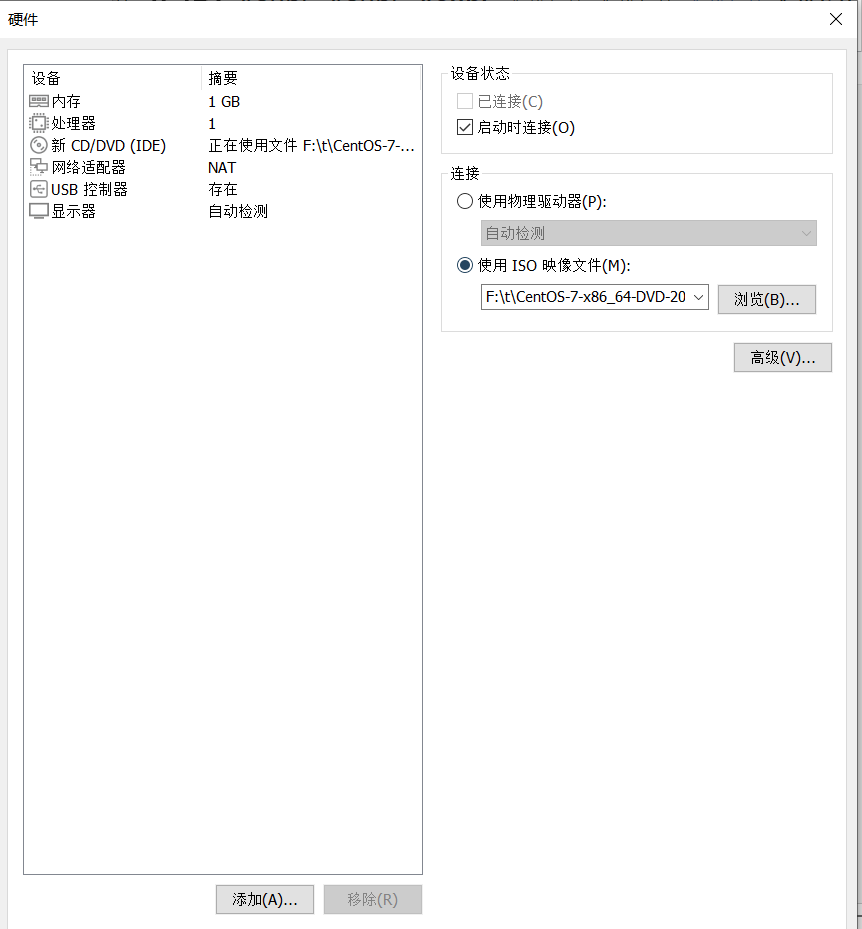
设置
内存设置为2GB
处理器设置为2
网络默认即可
声卡和打印机不使用直接进行了移除
启动后进入系统安装,注意的点如下:
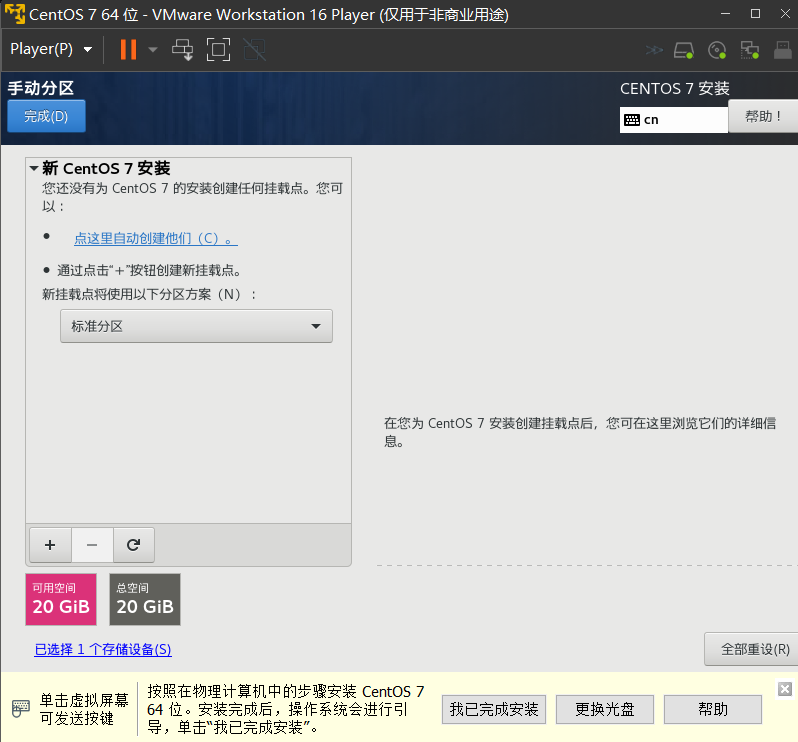
分区
选择系统-安装位置-手动分区进行分区如下:

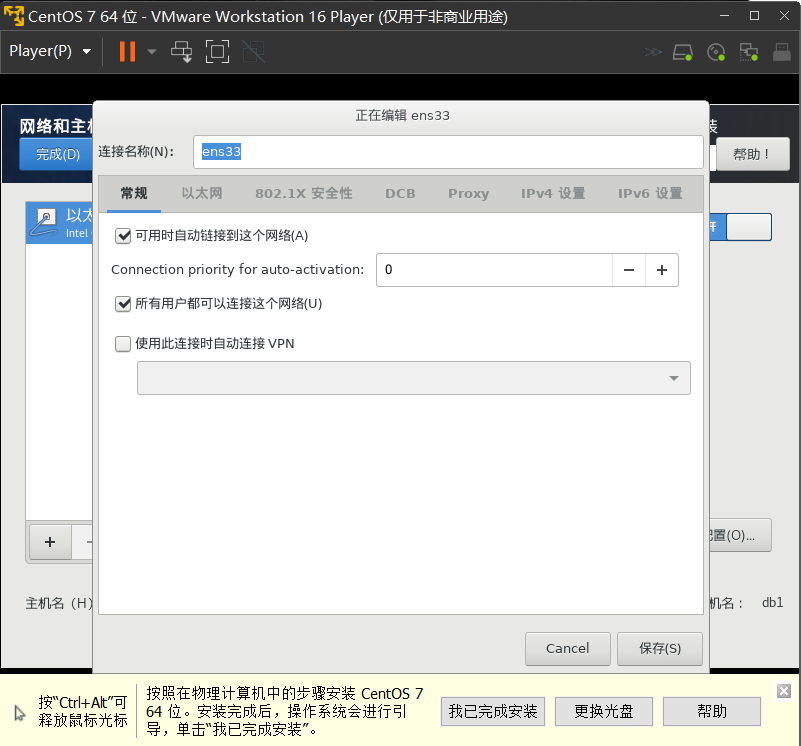
网络和主机名
选择系统-网络和主机名进行设置如下:
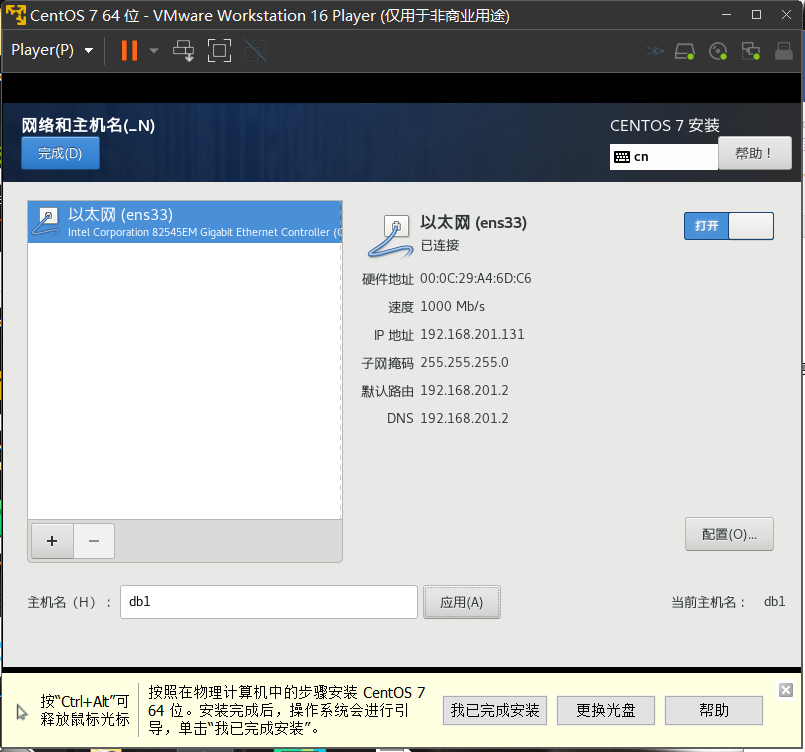
记录 ip 和主机名,之后配置需要用到
ip ***.***.***.***
主机名 db1
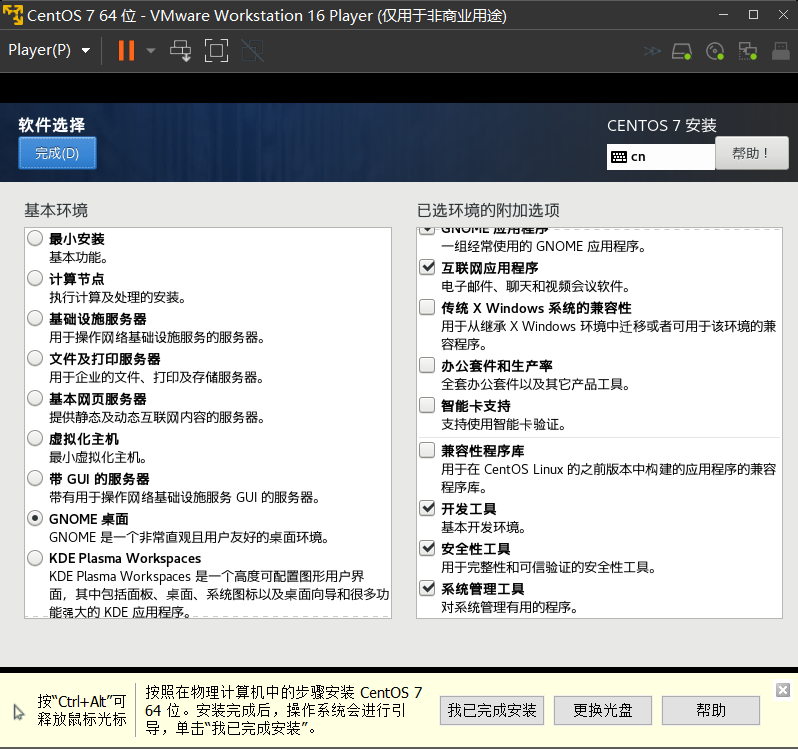
软件选择
选择软件-软件选择设置如下:
用户设置
上述设置完成后点击开始安装,该期间根据提示完成用户设置即可
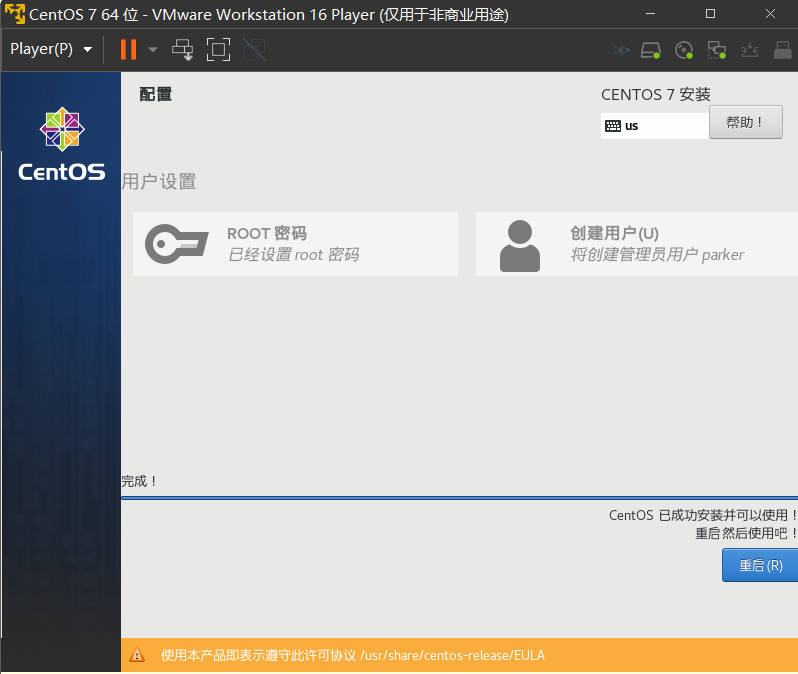
安装完成进行重启,登录系统完成安装
上网测试

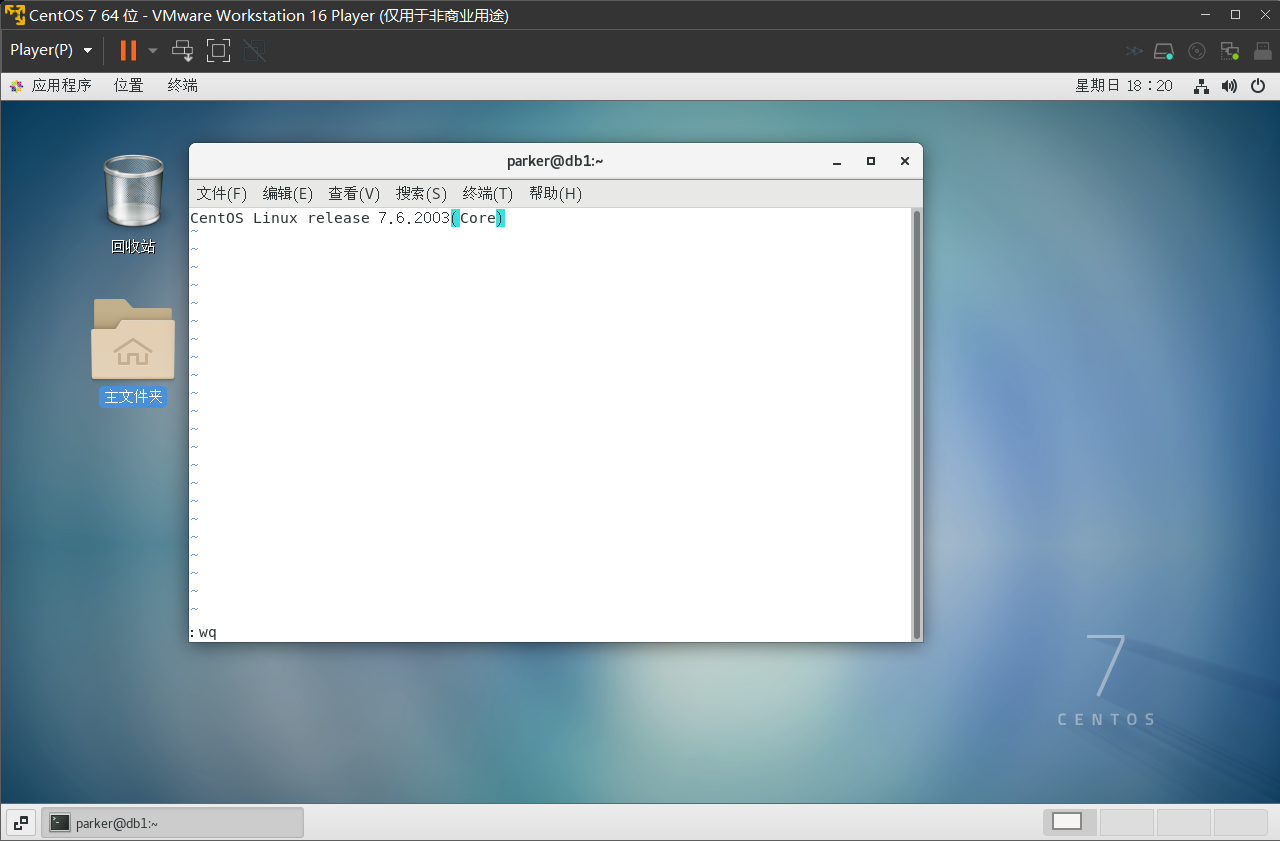
修改操作系统版本(CentOS 7.6 可省略)
通过 vi /etc/redhat-releas打开编辑文件,修改内容如下(请使用su root切换至 root 用户进行操作)
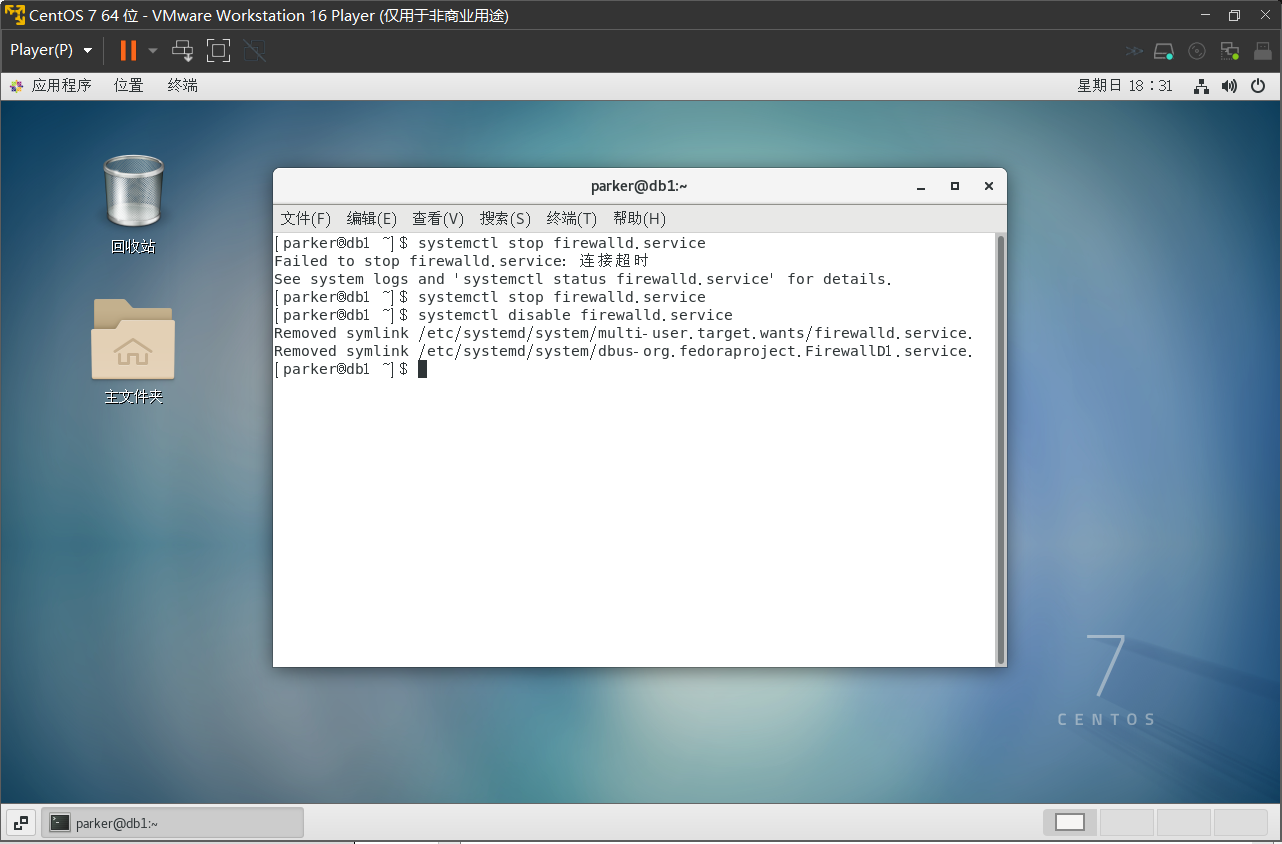
关闭防火墙
执行以下命令关闭防火墙 systemctl stop firewalld.service
systemctl disable firewalld.service
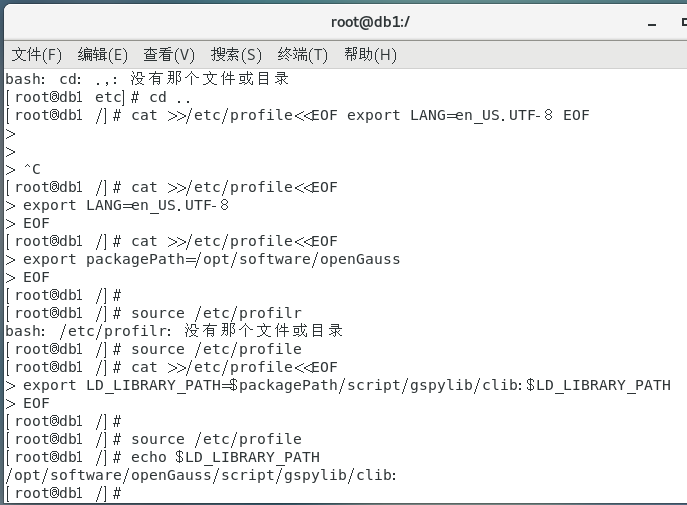
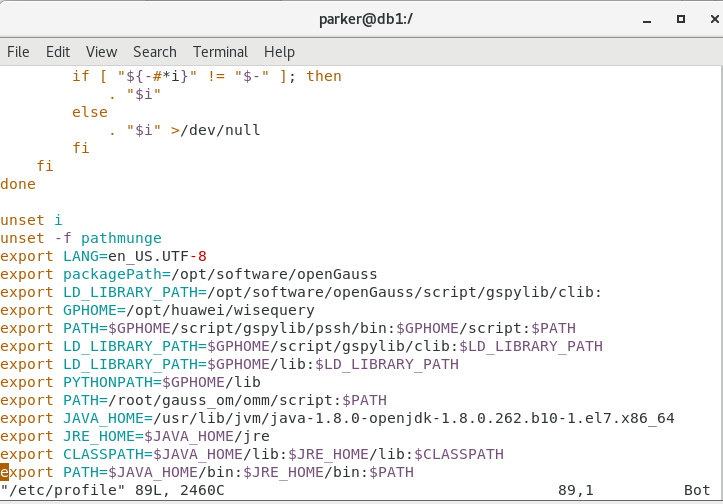
设置字符集及环境变量
关闭 swap 交换内存

yum 环境配置
备份 yum 配置文件

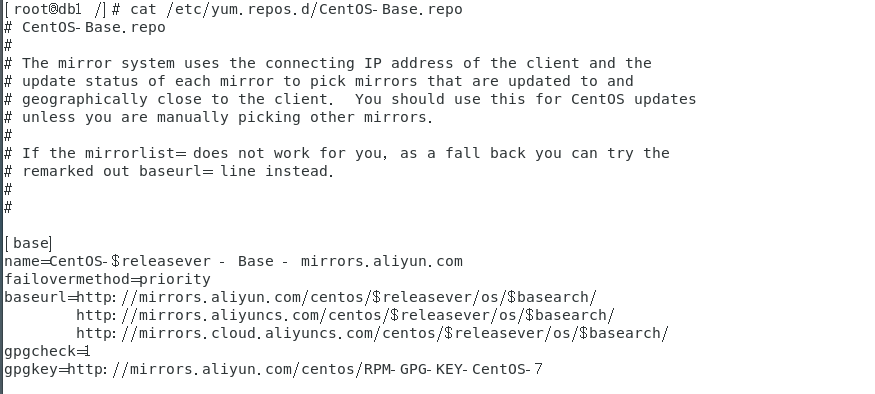
下载可用源的 repo 文件

查看 repo 文件是否正确
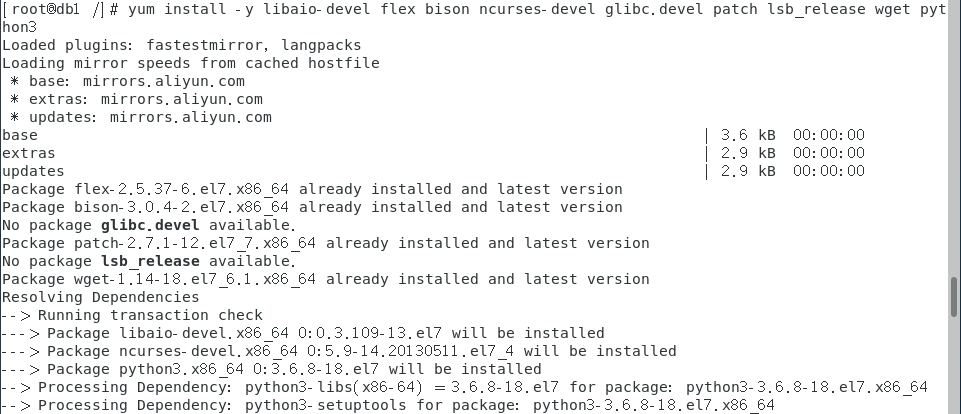
yum 安装相关包
yum install -y libaio-devel flex bison ncurses-devel glibc.devel patch lsb_release wget python3
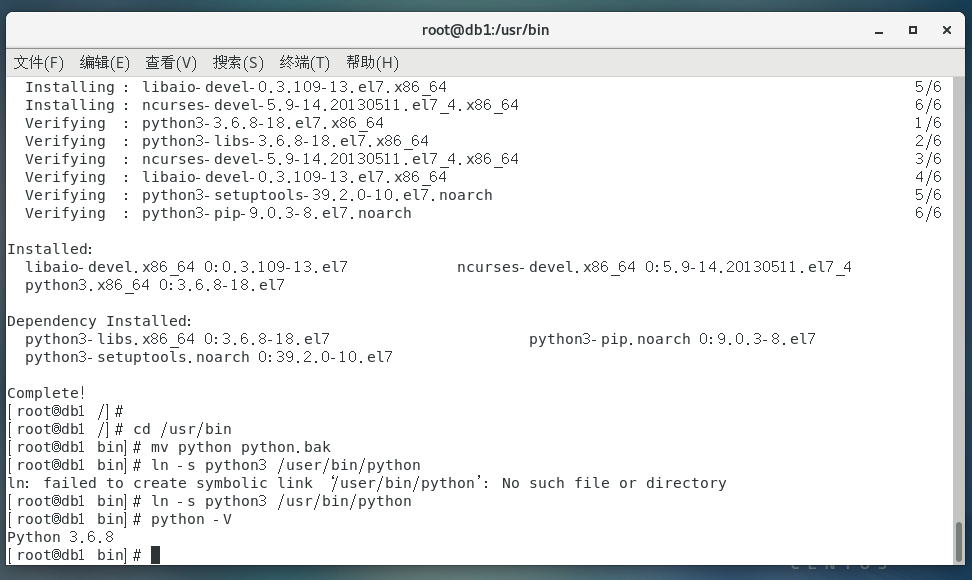
设置 python 版本为 3.x
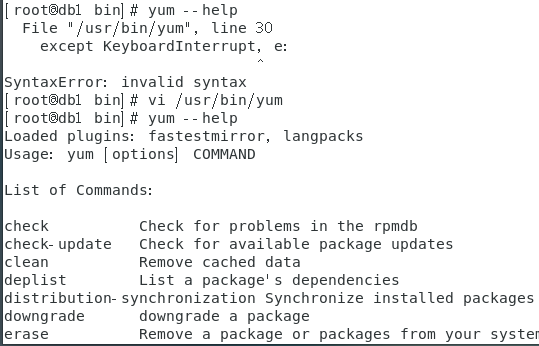
修改完成后,确认 yum 是否使用,若不能使用,如本例中。修改/usr/bin/yum文件,修改#!/usr/bin/python为#!/usr/bin/python2.7
数据库安装
创建存放数据库安装目录
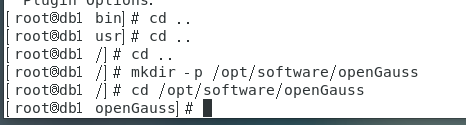
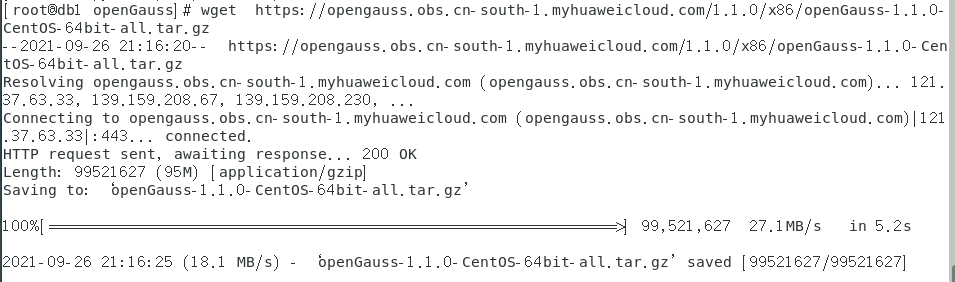
下载数据库安装包
创建 xml 配置文件,用于数据库安装 在openGauss文件夹下 vi clusterconfig.xml编辑以下内容
<?xml version="1.0" encoding="UTF-8"?>
<ROOT>
    <!-- openGauss整体信息 -->
    <CLUSTER>
        <PARAM name="clusterName" value="dbCluster" />
        <PARAM name="nodeNames" value="db1" />
        <PARAM name="backIp1s" value="10.0.3.15"/>
        <PARAM name="gaussdbAppPath" value="/opt/gaussdb/app" />
        <PARAM name="gaussdbLogPath" value="/var/log/gaussdb" />
        <PARAM name="gaussdbToolPath" value="/opt/huawei/wisequery" />
        <PARAM name="corePath" value="/opt/opengauss/corefile"/>
        <PARAM name="clusterType" value="single-inst"/>
    </CLUSTER>
    <!-- 每台服务器上的节点部署信息 -->
    <DEVICELIST>
        <!-- node1上的节点部署信息 -->
        <DEVICE sn="1000001">
            <PARAM name="name" value="db1"/>
            <PARAM name="azName" value="AZ1"/>
            <PARAM name="azPriority" value="1"/>
            <!-- 如果服务器只有一个网卡可用,将backIP1和sshIP1配置成同一个IP -->
            <PARAM name="backIp1" value="10.0.3.15"/>
            <PARAM name="sshIp1" value="10.0.3.15"/>

	    <!--dbnode-->
	    <PARAM name="dataNum" value="1"/>
	    <PARAM name="dataPortBase" value="26000"/>
	    <PARAM name="dataNode1" value="/gaussdb/data/db1"/>
        </DEVICE>
    </DEVICELIST>
</ROOT>
其中 ip 设置为之前的***.***.***.***,主机名为db1,如下: 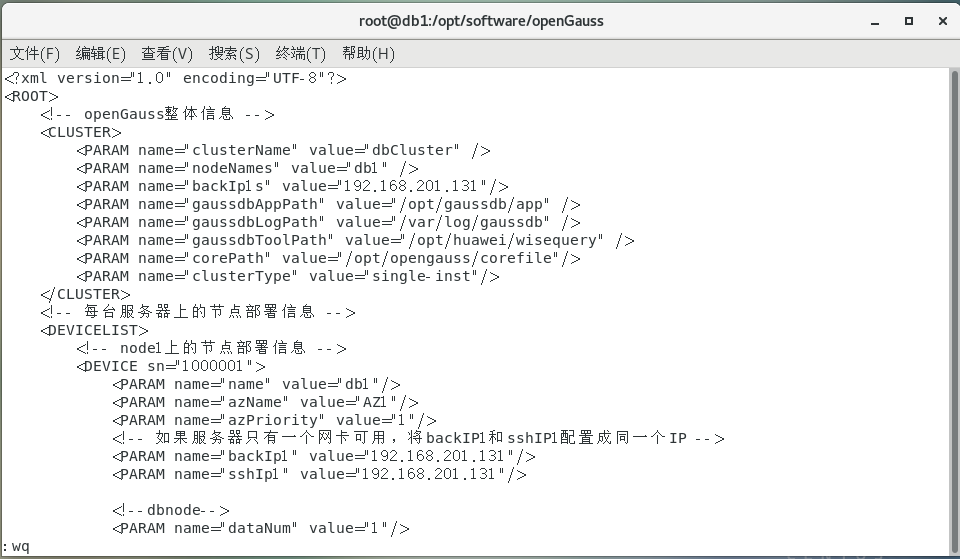
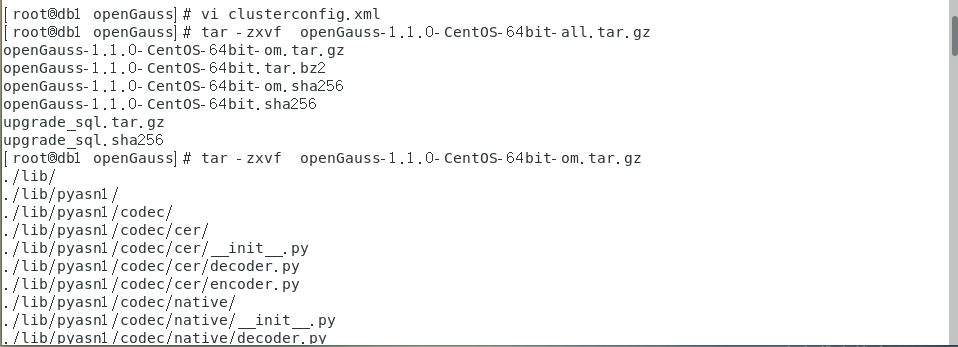
解压安装包
解压后查看并修改文件权限
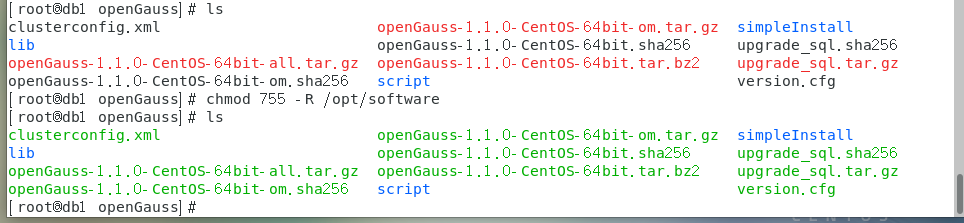
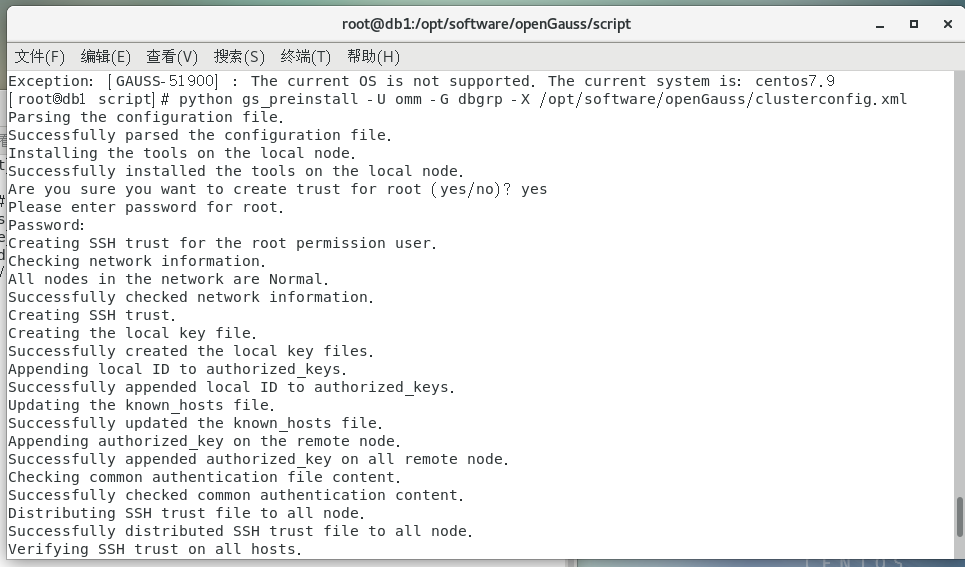
执行初始化脚本 cd /opt/software/openGauss/script
python gs_preinstall -U omm -G dbgrp -X /opt/software/openGauss/clusterconfig.xml 返回Preinstallation succeeded内容时,初始化完成
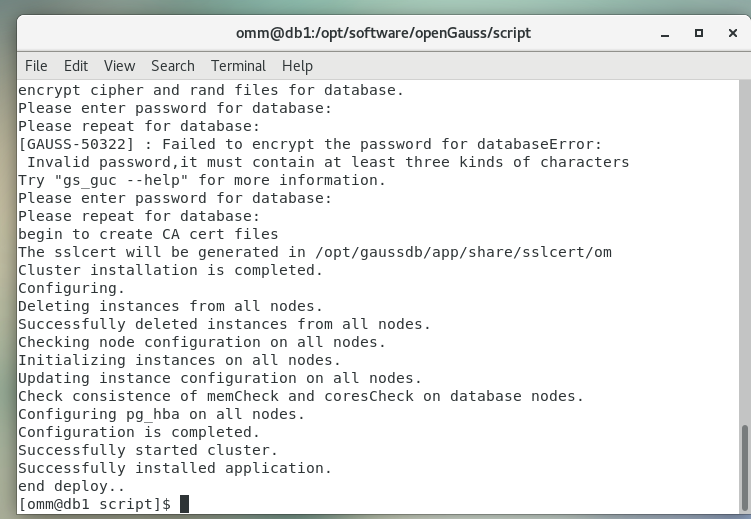
初始化数据库
重启虚拟机后使用 omm 用户进行数据库初始化 gs_install -X /opt/software/openGauss/clusterconfig.xml --gsinit-parameter="--encoding=UTF8" --dn-guc="max_process_memory=2GB" --dn-guc="shared_buffers=128MB" --dn-guc="bulk_write_ring_size=128MB" --dn-guc="cstore_buffers=16MB"
其中对应的参数内存大小须根据虚拟机情况进行设置
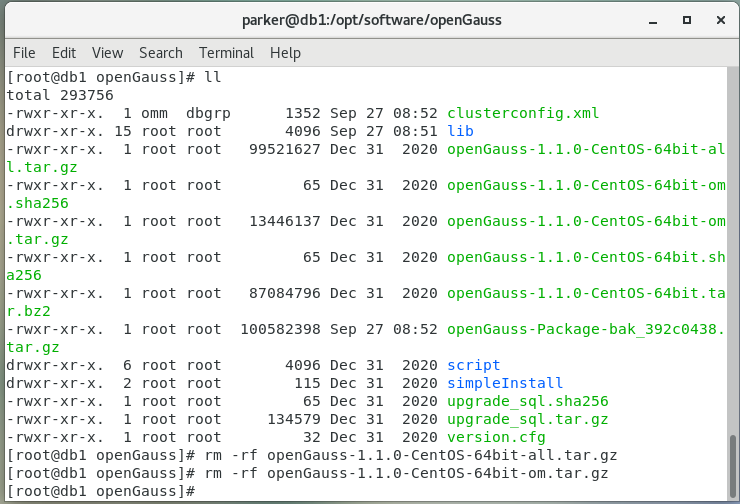
安装完成后清理软件安装包
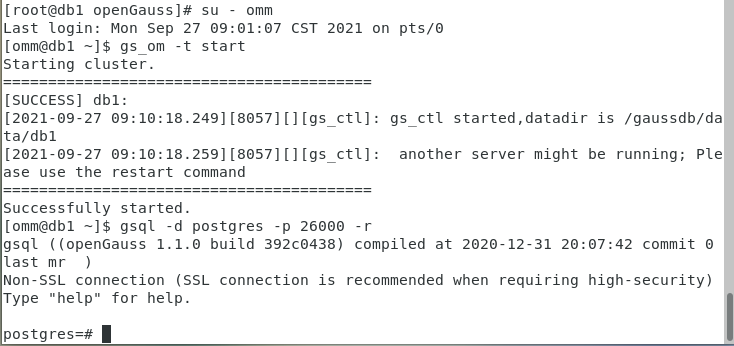
连接数据库
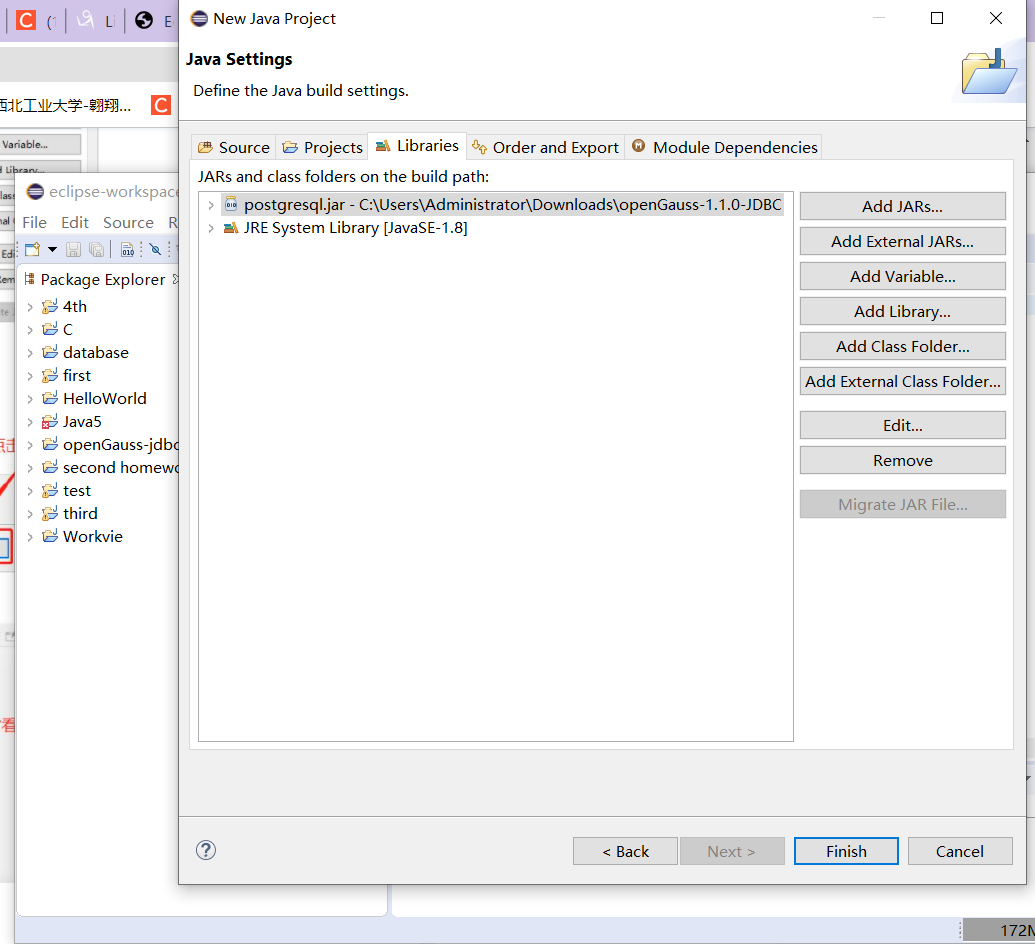
JDBC 配置
从官方网站选取对应版本的 jar 包并解压,在 eclipse 上配置加载驱动类。
第一次连接后操作数据库需要修改 omm 用户密码

根据官方文档提供的 demo 程序修改后进行连接测试,连接成功如下:
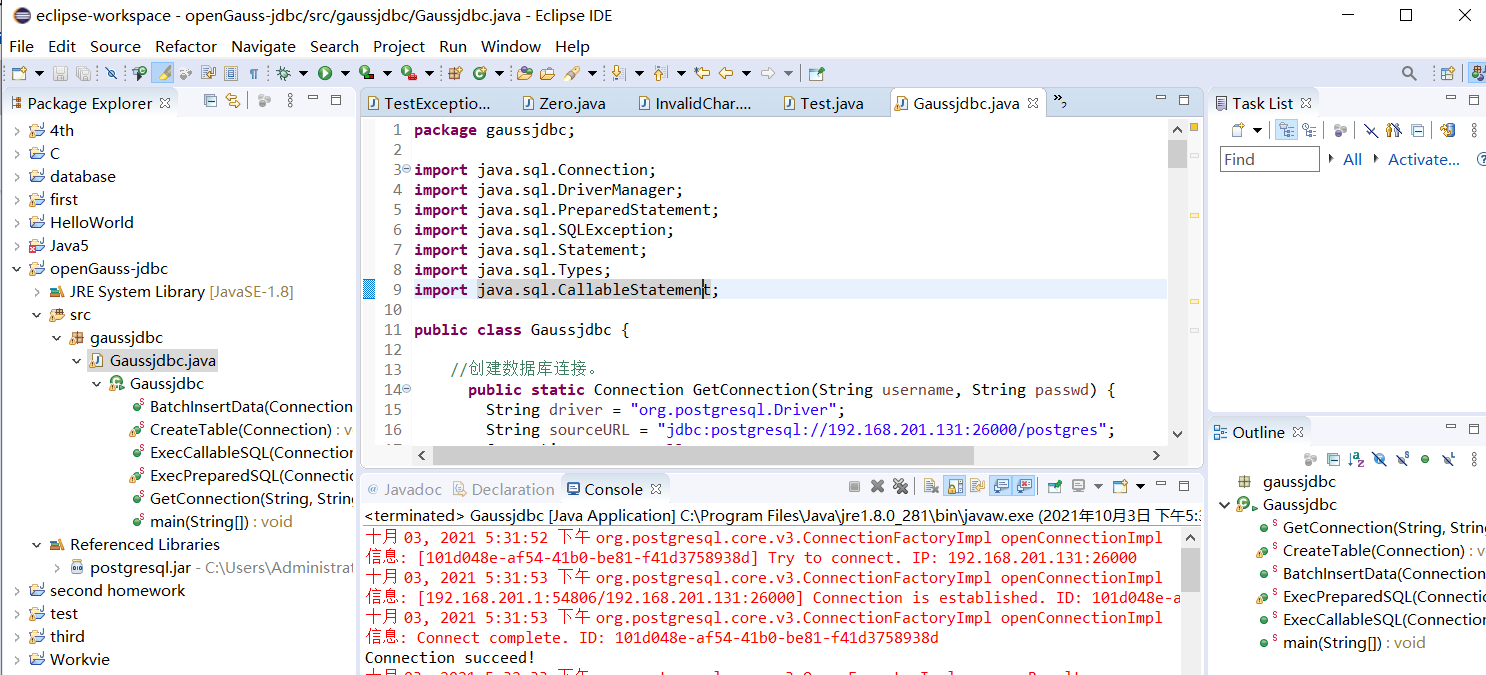
demo 程序:
package gaussjdbc;
import java.sql.Connection;
import java.sql.DriverManager;
import java.sql.PreparedStatement;
import java.sql.SQLException;
import java.sql.Statement;
import java.sql.Types;
import java.sql.CallableStatement;
public class Gaussjdbc {
//创建数据库连接。
public static Connection GetConnection(String username, String passwd) {
String driver = "org.postgresql.Driver";
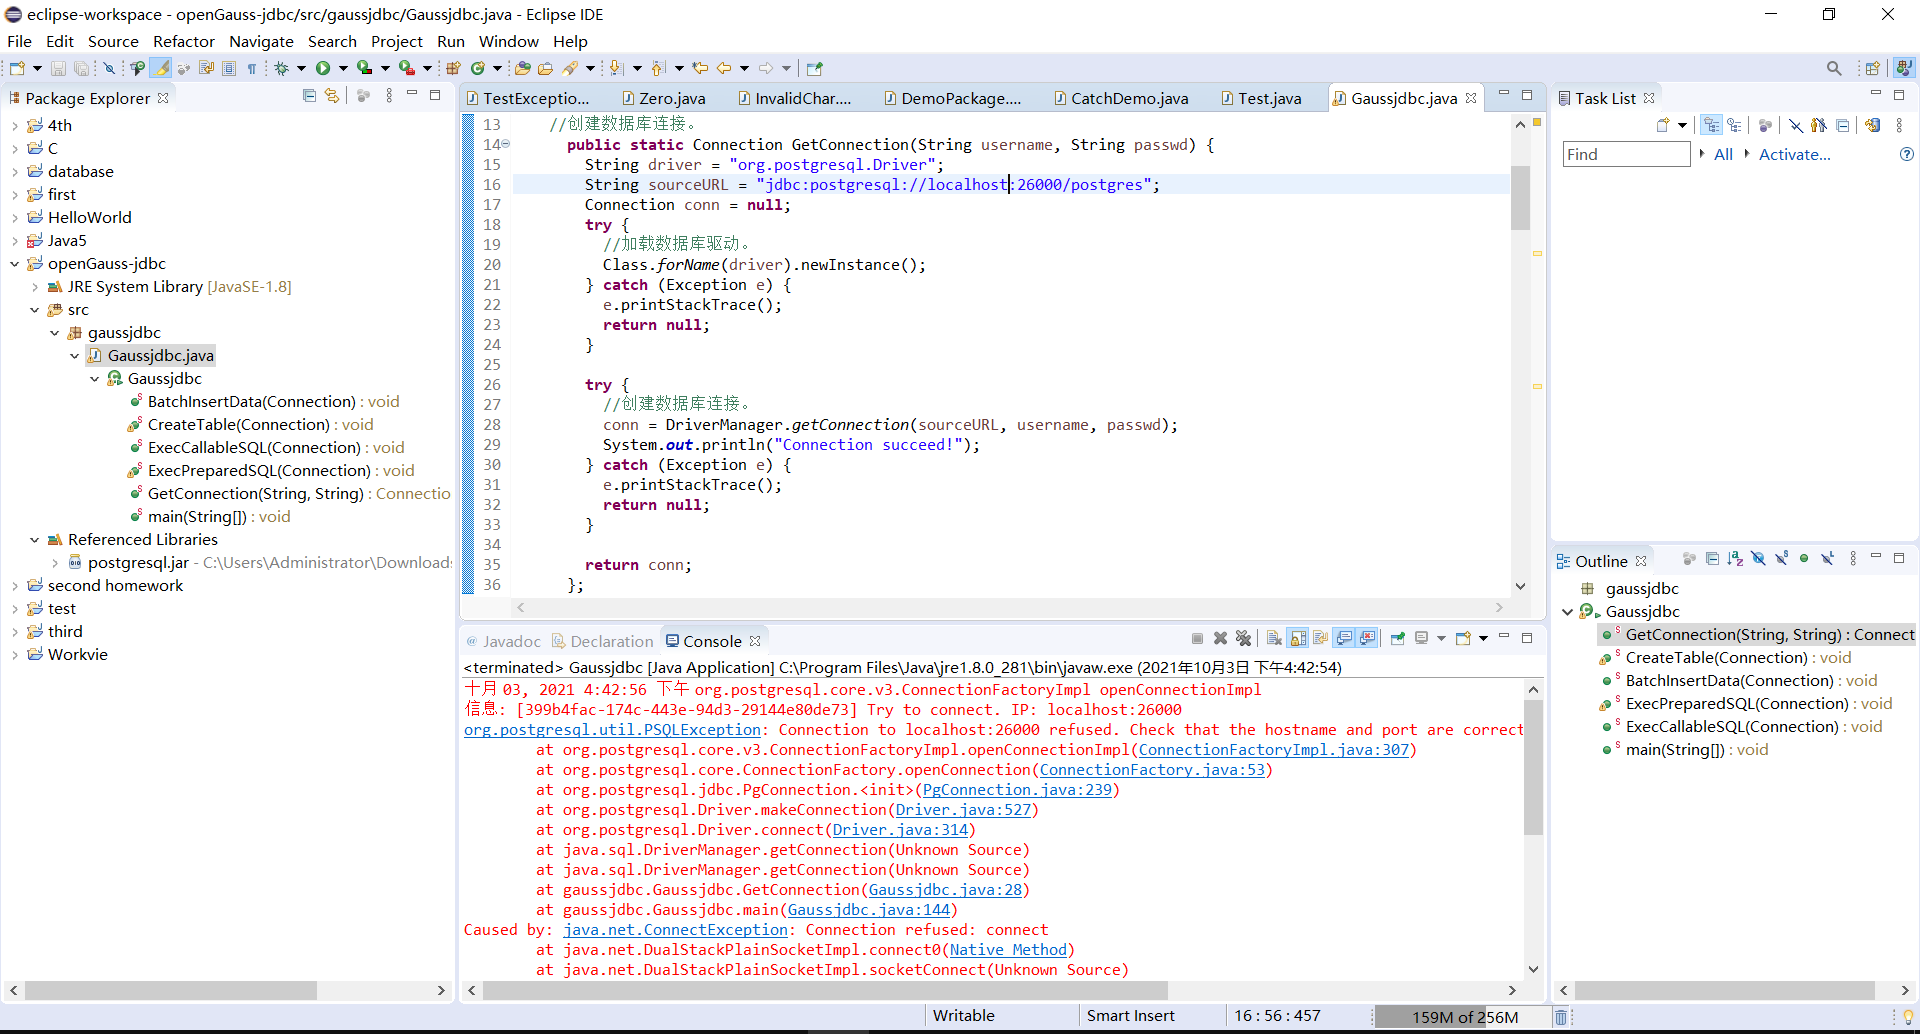
String sourceURL = "jdbc:postgresql://***.***.***.***:26000/postgres";
Connection conn = null;
try {
//加载数据库驱动。
Class.forName(driver).newInstance();
} catch (Exception e) {
e.printStackTrace();
return null;
}
try {
//创建数据库连接。
conn = DriverManager.getConnection(sourceURL, username, passwd);
System.out.println("Connection succeed!");
} catch (Exception e) {
e.printStackTrace();
return null;
}
return conn;
};
//执行普通SQL语句,创建customer_t1表。
public static void CreateTable(Connection conn) {
Statement stmt = null;
try {
stmt = conn.createStatement();
//执行普通SQL语句。
int rc = stmt
.executeUpdate("CREATE TABLE customer_t1(c_customer_sk INTEGER, c_customer_name VARCHAR(32));");
stmt.close();
} catch (SQLException e) {
if (stmt != null) {
try {
stmt.close();
} catch (SQLException e1) {
e1.printStackTrace();
}
}
e.printStackTrace();
}
}
//执行预处理语句,批量插入数据。
public static void BatchInsertData(Connection conn) {
PreparedStatement pst = null;
try {
//生成预处理语句。
pst = conn.prepareStatement("INSERT INTO customer_t1 VALUES (?,?)");
for (int i = 0; i < 3; i++) {
//添加参数。
pst.setInt(1, i);
pst.setString(2, "data " + i);
pst.addBatch();
}
//执行批处理。
pst.executeBatch();
pst.close();
} catch (SQLException e) {
if (pst != null) {
try {
pst.close();
} catch (SQLException e1) {
e1.printStackTrace();
}
}
e.printStackTrace();
}
}
//执行预编译语句,更新数据。
public static void ExecPreparedSQL(Connection conn) {
PreparedStatement pstmt = null;
try {
pstmt = conn
.prepareStatement("UPDATE customer_t1 SET c_customer_name = ? WHERE c_customer_sk = 1");
pstmt.setString(1, "new Data");
int rowcount = pstmt.executeUpdate();
pstmt.close();
} catch (SQLException e) {
if (pstmt != null) {
try {
pstmt.close();
} catch (SQLException e1) {
e1.printStackTrace();
}
}
e.printStackTrace();
}
}
//执行存储过程。
public static void ExecCallableSQL(Connection conn) {
CallableStatement cstmt = null;
try {
cstmt=conn.prepareCall("{? = CALL TESTPROC(?,?,?)}");
cstmt.setInt(2, 50);
cstmt.setInt(1, 20);
cstmt.setInt(3, 90);
cstmt.registerOutParameter(4, Types.INTEGER); //注册out类型的参数,类型为整型。
cstmt.execute();
int out = cstmt.getInt(4); //获取out参数
System.out.println("The CallableStatment TESTPROC returns:"+out);
cstmt.close();
} catch (SQLException e) {
if (cstmt != null) {
try {
cstmt.close();
} catch (SQLException e1) {
e1.printStackTrace();
}
}
e.printStackTrace();
}
}
/**
* 主程序,逐步调用各静态方法。
* @param args
*/
public static void main(String[] args) {
//创建数据库连接。
Connection conn = GetConnection("parker", "parker@123");
//创建表。
CreateTable(conn);
//批插数据。
BatchInsertData(conn);
//执行预编译语句,更新数据。
ExecPreparedSQL(conn);
//执行存储过程。
//ExecCallableSQL(conn);//这部分在运行时有问题,直接注释掉了
//关闭数据库连接。
try {
conn.close();
} catch (SQLException e) {
e.printStackTrace();
}
}
}
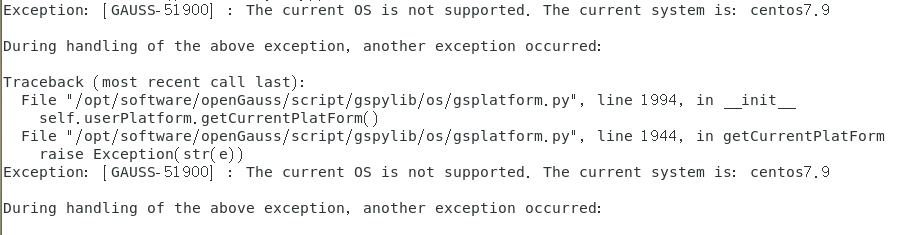
安装中遇到的问题与解决过程
初始化脚本失败报错
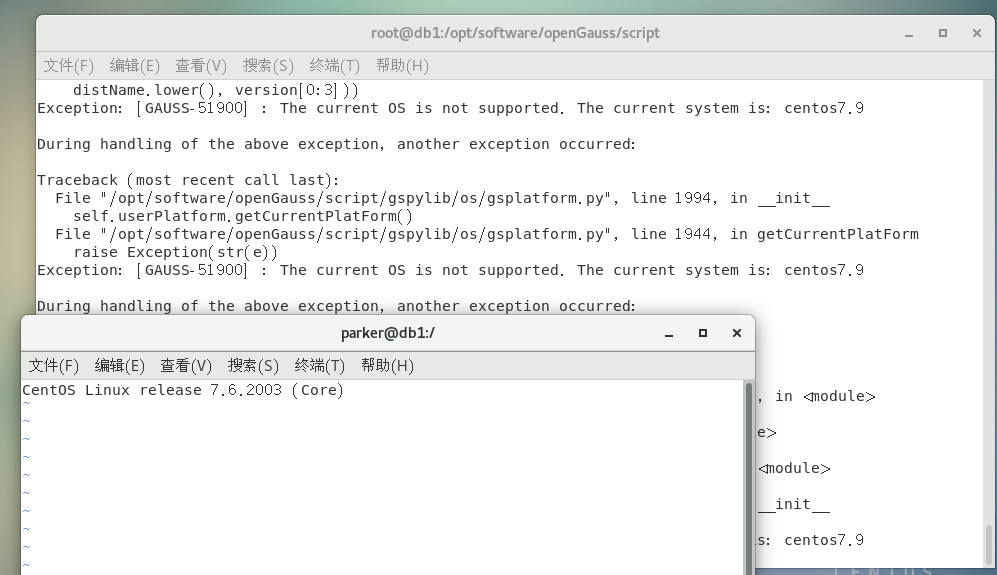
CentOS上配置JAVA
自带的 java 路径寻找:

配置CentOS环境变量:
而后期验证javac时发现CentOS其自带的 java 仅有运行环境,改用 windows 作为客户端。
也可以自行下载 java 环境配置进行解决配置:

数据库连接问题
地址错误
修改后 ip 未放行错误
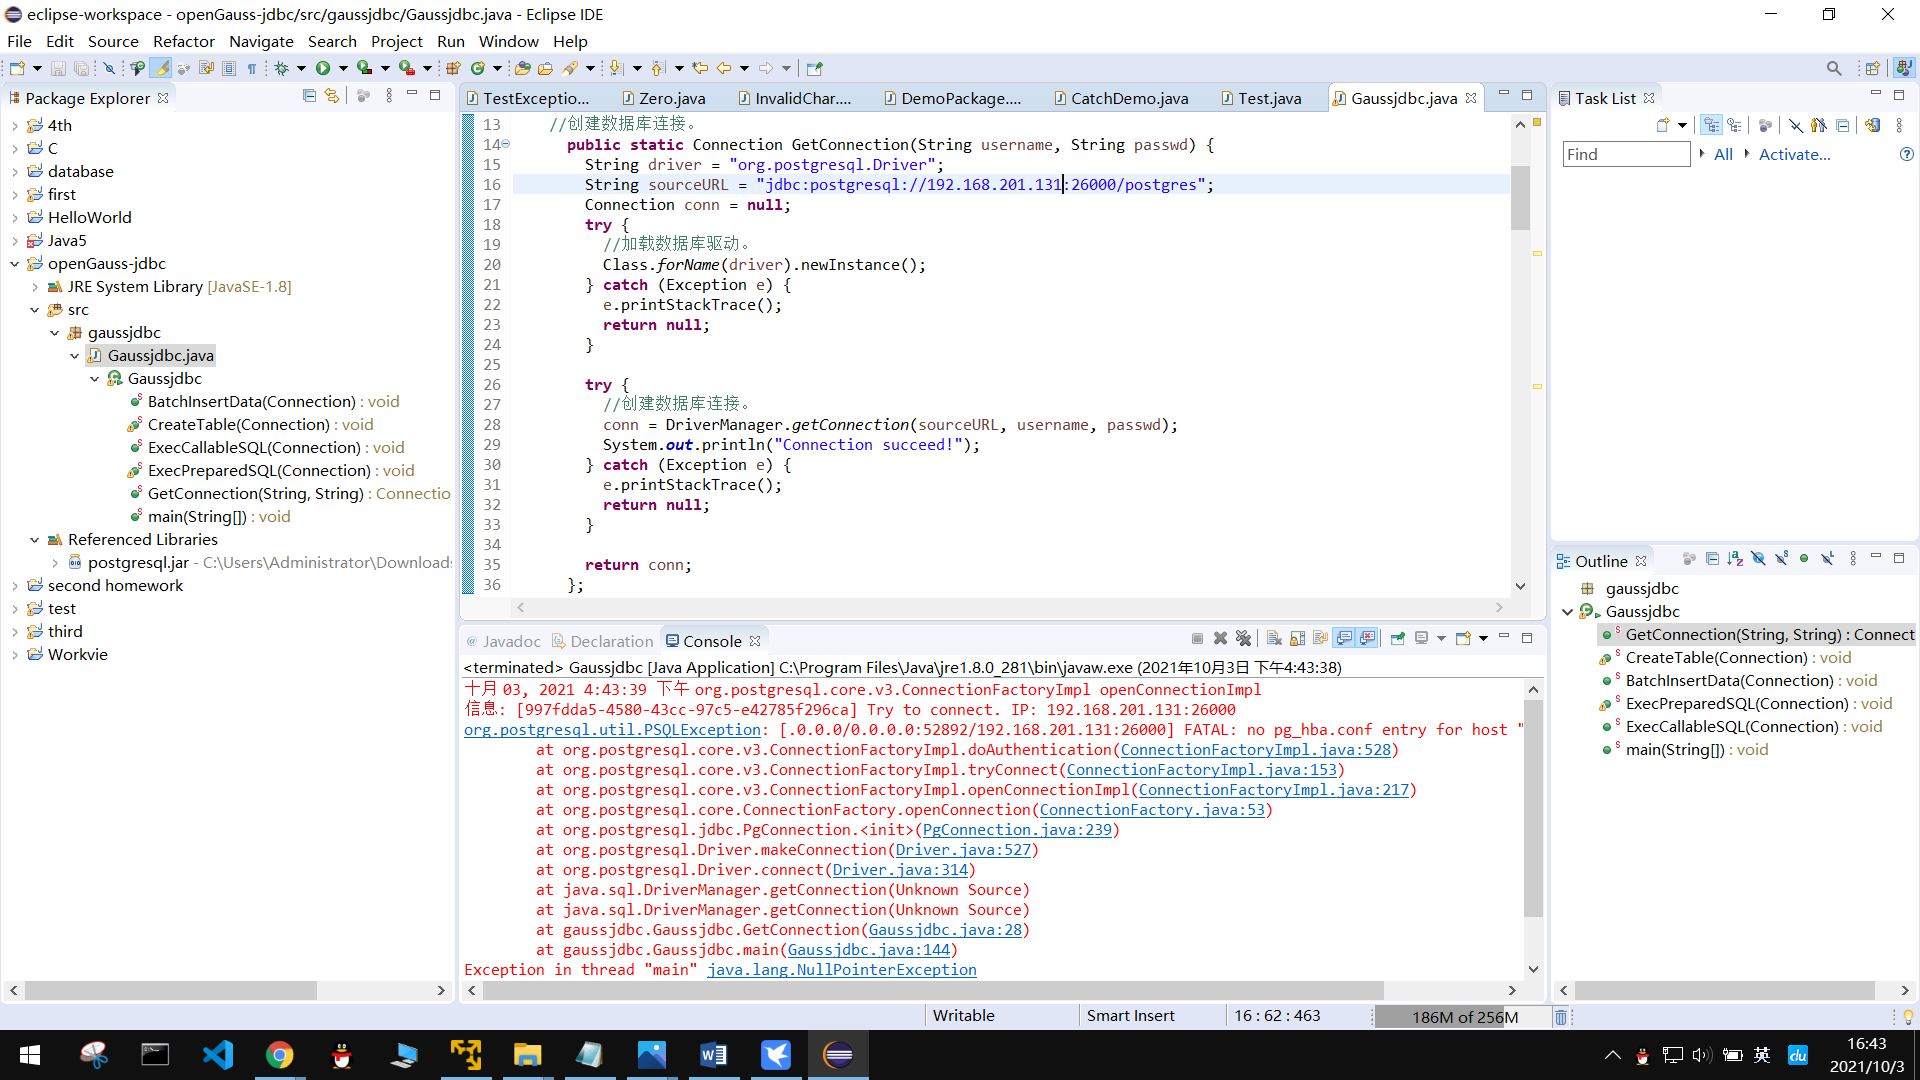
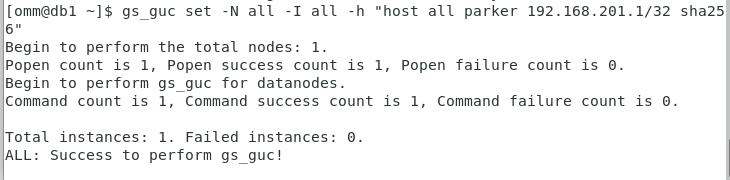
放行 ip 命令(在官方文档客户端接入验证处可以查询)如下
gs_guc set -N all -I all -h "host all parker ***.***.***.***/32 sha256"
具体的接入 ip 若不清楚可以通过报错信息或本地的 ipconfig 进行查看