openGauss
开源数据库
openGauss社区官网
开源社区
基于openGauss部署openStack实战
概要
本文档给出了使用openGauss安装openStack的实战流程,旨在指导用户如何基于openGauss作为底层数据库安装部署openStack环境。文档中将会基于 openStack Train版本安装 keystone、glance、nova、placement、cinder、neutron 和 horizon这7个核心功能组件,其余组件中tempest、kolla、swift和ceilometer不涉及数据库使用,ironic、trove、cyborg、aodh、gnocchi和heat等非核心组件可按需安装,后续将继续验证。安装流程主要参考了openStack官方文档, 并结合了openGauss的特性进行了适配。相比于原安装流程,适配主要涉及:
- 修改数据库驱动为openGauss-connector-python-psycopg2_6.0.0
- 修改数据库的配置文件
- 修改 oslo_db 配置文件中的数据库连接信息
- 修改创建数据库以及授权命令
前置环境
- 操作系统:openEuler 22.03 LTS
- 数据库版本:openGauss 7.0.0 RC1
- openStack版本:Train
- 数据库驱动:openGauss-connector-python-psycopg2_6.0.0
安装流程
启用 yum 源
如果使用的操作系统是 openEuler 22.03 LTS以上的版本,可以使用如下命令启用 yum 源:
yum update
yum install openstack-release-train
yum clean all && yum makecache
其他操作系统,可根据实际情况选择配置合适的 yum 源。
安装及配置数据库
可以按照版本编译的指导编译安装openGausss数据库到本地,之后修改数据库的配置文件postgresql.conf和pg_hba.conf,如下所示
-- 修改postgresql.conf
listen_addresses = '*'
session_timeout = 0
password_encryption_type = 1
dolphin.sql_mode ='sql_mode_strict,pipes_as_concat,ansi_quotes,no_zero_date,pad_char_to_full_length,auto_recompile_function,error_for_division_by_zero'
disable_keyword_options = 'excluded'
behavior_compat_options='accept_empty_str'

-- 修改pg_hba.conf
host    all             all             0.0.0.0/0               md5
修改后重启数据库使参数生效。
下面将展示安装openStack组件的流程,主要说明和openStack官方文档中不同的数据库操作,其余安装操作和openStack官方文档一致。
以下是安装openStack组件keystone的完整流程,其它组件安装流程和openStack官方文档类似,仅说明数据库相关操作:
keystone安装
1.创建 keystone 数据库并授权
openGauss=# create database keystone dbcompatibility 'B';
CREATE DATABASE
openGauss=# \c keystone
Non-SSL connection (SSL connection is recommended when requiring high-security)
-- 可根据实际情况设置keystone数据库用户密码,此处仅为示例,下面的安装步骤同理
keystone=# CREATE USER keystone WITH PASSWORD '******';
CREATE ROLE
keystone=# grant all privileges on database keystone to keystone;
GRANT
2.安装 keystone 软件包
yum install openstack-keystone httpd mod_wsgi
3.配置 keystone
# 修改/etc/keystone/keystone.conf,根据实际情况替换数据库用户密码以及{IP}和{PORT}
[database]
connection = postgresql://keystone:******@{IP}:{PORT}/keystone

[token]
provider = fernet
由于sqlalchemy解析数据库版本的源码限制,此处需要修改sqlalchemy安装路径下的文件(/usr/lib/python版本/site-packages/sqlalchemy/dialects/postgresql/base.py)文件中的_get_server_version_info函数。
def _get_server_version_info(self, connection):
    # 修改此处版本为固定值使下面的正则匹配通过
    v = "PostgreSQL 16.1, compiled by Visual C++ build 1914, 64-bit"
    m = re.match(
        r".*(?:PostgreSQL|EnterpriseDB) "
        r"(\d+)\.?(\d+)?(?:\.(\d+))?(?:\.\d+)?(?:devel|beta)?",
        v,
    )
由于openGauss暂未支持ALTER TABLE...SERIAL语法,需要替换keystone安装路径下的如下文件(/usr/lib/python版本/site-packages/keystone/common/sql/expand_repo/versions/047_expand_update_pk_for_unified_limit.py)中的POSTGRESQL_CREATE_ID_PRIMARY_KEY_COLUMN 变量为下值:
POSTGRESQL_CREATE_ID_PRIMARY_KEY_COLUMN = """
ALTER TABLE `%s` ADD `internal_id` INT NOT NULL AUTO_INCREMENT PRIMARY KEY;
"""
4.初始化 keystone 数据库
su -s /bin/sh -c "keystone-manage db_sync" keystone
5.初始化 Fernet 密钥存储库
keystone-manage fernet_setup --keystone-user keystone --keystone-group keystone
keystone-manage credential_setup --keystone-user keystone --keystone-group keystone
6.启动 keystone 服务
根据实际情况替换{ADMIN_PASS}为ADMIN用户设置的密码,和{controller}为控制节点IP地址
keystone-manage bootstrap --bootstrap-password ADMIN_PASS \
--bootstrap-admin-url http://controller:5000/v3/ \
--bootstrap-internal-url http://controller:5000/v3/ \
--bootstrap-public-url http://controller:5000/v3/ \
--bootstrap-region-id RegionOne
7.配置Apache HTTP server
vim /etc/httpd/conf/httpd.conf
# 修改如下内容,{controller}为本机IP地址
ServerName controller

ln -s /usr/share/keystone/wsgi-keystone.conf /etc/httpd/conf.d/
8.启动Apache HTTP服务
systemctl enable httpd.service
systemctl start httpd.service
9.创建环境变量配置
根据实际情况替换{ADMIN_PASS}和
cat << EOF >> ~/.admin-openrc
export OS_PROJECT_DOMAIN_NAME=Default
export OS_USER_DOMAIN_NAME=Default
export OS_PROJECT_NAME=admin
export OS_USERNAME=admin
export OS_PASSWORD=ADMIN_PASS
export OS_AUTH_URL=http://controller:5000/v3
export OS_IDENTITY_API_VERSION=3
export OS_IMAGE_API_VERSION=2
EOF
10.安装客户端软件包,依次创建domain, projects, users, roles
yum install python3-openstackclient
source ~/.admin-openrc
openstack domain create --description "An Example Domain" example
openstack project create --domain default --description "Service Project" service
openstack project create --domain default --description "Demo Project" myproject
openstack user create --domain default --password-prompt myuser
openstack role create myrole
openstack role add --project myproject --user myuser myrole
至此完成keystone的安装和配置
11.验证安装
取消临时环境变量OS_AUTH_URL和OS_PASSWORD
source ~/.admin-openrc
unset OS_AUTH_URL OS_PASSWORD
为admin用户请求token:
openstack --os-auth-url http://controller:5000/v3 \
--os-project-domain-name Default --os-user-domain-name Default \
--os-project-name admin --os-username admin token issue
为myuser用户请求token:
openstack --os-auth-url http://controller:5000/v3 \
--os-project-domain-name Default --os-user-domain-name Default \
--os-project-name myproject --os-username myuser token issue
如果得到类似下面的结果,则验证成功:
[root@openeuler2203-sp4 keystone]# openstack domain create --description "An Example Domain" example
+-------------+----------------------------------+
| Field       | Value                            |
+-------------+----------------------------------+
| description | An Example Domain                |
| enabled     | True                             |
| id          | 038f7bbff366428e9b53a30d1be4a59e |
| name        | example                          |
| options     | {}                               |
| tags        | []                               |
+-------------+----------------------------------+

[root@openeuler2203-sp4 keystone]# openstack project create --domain default --description "Service Project" service
+-------------+----------------------------------+
| Field       | Value                            |
+-------------+----------------------------------+
| description | Service Project                  |
| domain_id   | default                          |
| enabled     | True                             |
| id          | 22995ebafe664c76842a254575e413a1 |
| is_domain   | False                            |
| name        | service                          |
| options     | {}                               |
| parent_id   | default                          |
| tags        | []                               |
+-------------+----------------------------------+
Glance安装
数据库操作
openGauss=# create database glance;
CREATE DATABASE
openGauss=# \c glance
Non-SSL connection (SSL connection is recommended when requiring high-security)
glance=# create user glance with password '******';
NOTICE:  The encrypted password contains MD5 ciphertext, which is not secure.
CREATE ROLE
glance=# grant ALL privileges on database glance to glance;
GRANT
修改配置
vim /etc/glance/glance-api.conf
#修改glance数据库相关配置,此处仅说明数据库配置,其他配置请参考官方文档
[database]
connection = postgresql://glance:******@{IP}:{PORT}/glance
Placement安装
数据库操作
-- 必须创建B兼容性库
openGauss=# create database placement dbcompatibility 'B';
CREATE DATABASE
openGauss=# \c placement
Non-SSL connection (SSL connection is recommended when requiring high-security)
placement=# create user placement with password '******';
NOTICE:  The encrypted password contains MD5 ciphertext, which is not secure.
CREATE ROLE
placement=# grant ALL privileges on database placement to placement;
GRANT
修改配置
# vim /etc/placement/placement.conf

[placement_database]
# ...
connection = postgresql://placement:******@{IP}:{PORT}/placement
Nova安装
数据库操作
openGauss=# CREATE DATABASE nova_api;
CREATE DATABASE
openGauss=# CREATE DATABASE nova;
CREATE DATABASE
openGauss=# CREATE DATABASE nova_cell0;
CREATE DATABASE
openGauss=# \c nova
Non-SSL connection (SSL connection is recommended when requiring high-security)
nova=# create user nova with password '******';
NOTICE:  The encrypted password contains MD5 ciphertext, which is not secure.
CREATE ROLE


nova=# grant ALL privileges on database nova_api to nova;
GRANT
nova=# grant ALL privileges on database nova to nova;
GRANT
nova=# grant ALL privileges on database nova_cell0 to nova;
GRANT


--- 创建Nova用户之后,使用Nova重新连接数据库
gsql -d postgres -p {port} -r -U nova -W ******

--- 在nova_api和nova_cell0中使用Nova用户创建schema
openGauss=> \c nova_api
Password for user nova:
Non-SSL connection (SSL connection is recommended when requiring high-security)
You are now connected to database "nova_api" as user "nova".
nova_api=> create schema nova;
CREATE SCHEMA
nova_api=> \c nova_cell0
Password for user nova:
Non-SSL connection (SSL connection is recommended when requiring high-security)
You are now connected to database "nova_cell0" as user "nova".
nova_cell0=> create schema nova;
CREATE SCHEMA
修改配置
vim /etc/nova/nova.conf

[api_database]
connection = postgresql://nova:******@{IP}:{PORT}/nova_api

[database]
connection = postgresql://nova:******@{IP}:{PORT}/nova
Neutron安装
数据库操作
openGauss=# create database neutron;
CREATE DATABASE
openGauss=# \c neutron
Non-SSL connection (SSL connection is recommended when requiring high-security)
neutron=# create user neutron with password '******';
NOTICE:  The encrypted password contains MD5 ciphertext, which is not secure.
CREATE ROLE
neutron=# grant ALL privileges on database neutron to neutron;
GRANT
修改配置
vim /etc/neutron/neutron.conf
[database]
connection = postgresql://neutron:******@{IP}:{PORT}/neutron
Cinder安装
数据库操作
openGauss=# create database cinder;
CREATE DATABASE
openGauss=# \c cinder
Non-SSL connection (SSL connection is recommended when requiring high-security)
neutron=# create user cinder with password '******';
NOTICE:  The encrypted password contains MD5 ciphertext, which is not secure.
CREATE ROLE
neutron=# grant ALL privileges on database cinder to cinder;
GRANT
修改配置
vim /etc/cinder/cinder.conf

[database]
connection = postgresql://cinder:******@{IP}:{PORT}/cinder
Horizon安装
安装horizon不涉及数据库操作,安装后可通过前端服务访问openStack的dashboard创建安全组规则、虚拟化网络、虚拟机等。
查看安全组规则

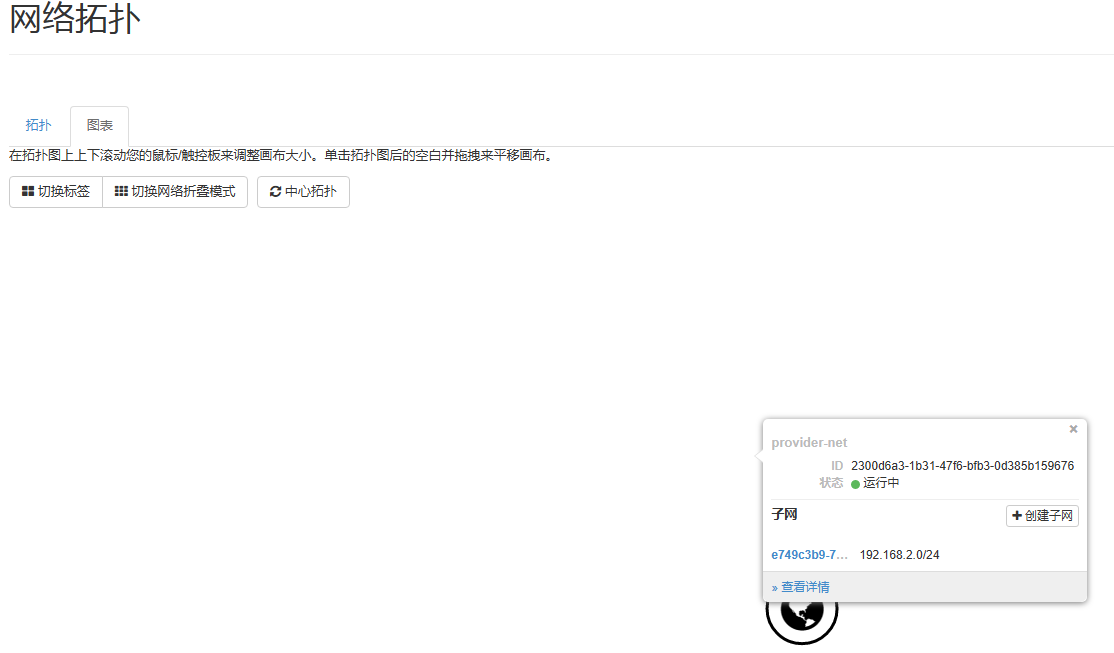
查看虚拟网络
在控制台查看虚拟机

至此,已成功基于openGauss数据库部署openStack,更多功能欢迎大家一起体验和验证。